“I have a little Dreidel; I made it out of clay,
And when it’s dry and ready, then Dreidel I shall play!”
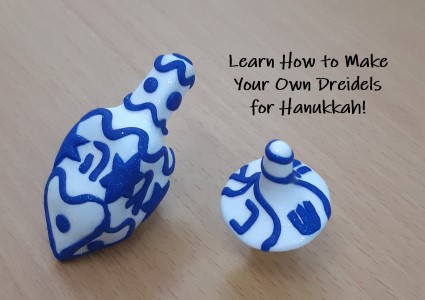
We all learned this classic Hanukkah song when we were little, but has anyone ever showed you how to make your very own Dreidels from clay? With Hanukkah just weeks away, we wanted to try our hand at it, so we went out, got what we needed from a nearby craft store in Jerusalem, and set to work sculpting our Dreidels. After some trial and error, we figured out to make a nice, simple Dreidel and we wanted to share with you how we did it! Keep reading below to follow our easy step-by-step guide to making Dreidels!
Step 1: Prepare Your Workspace and Materials
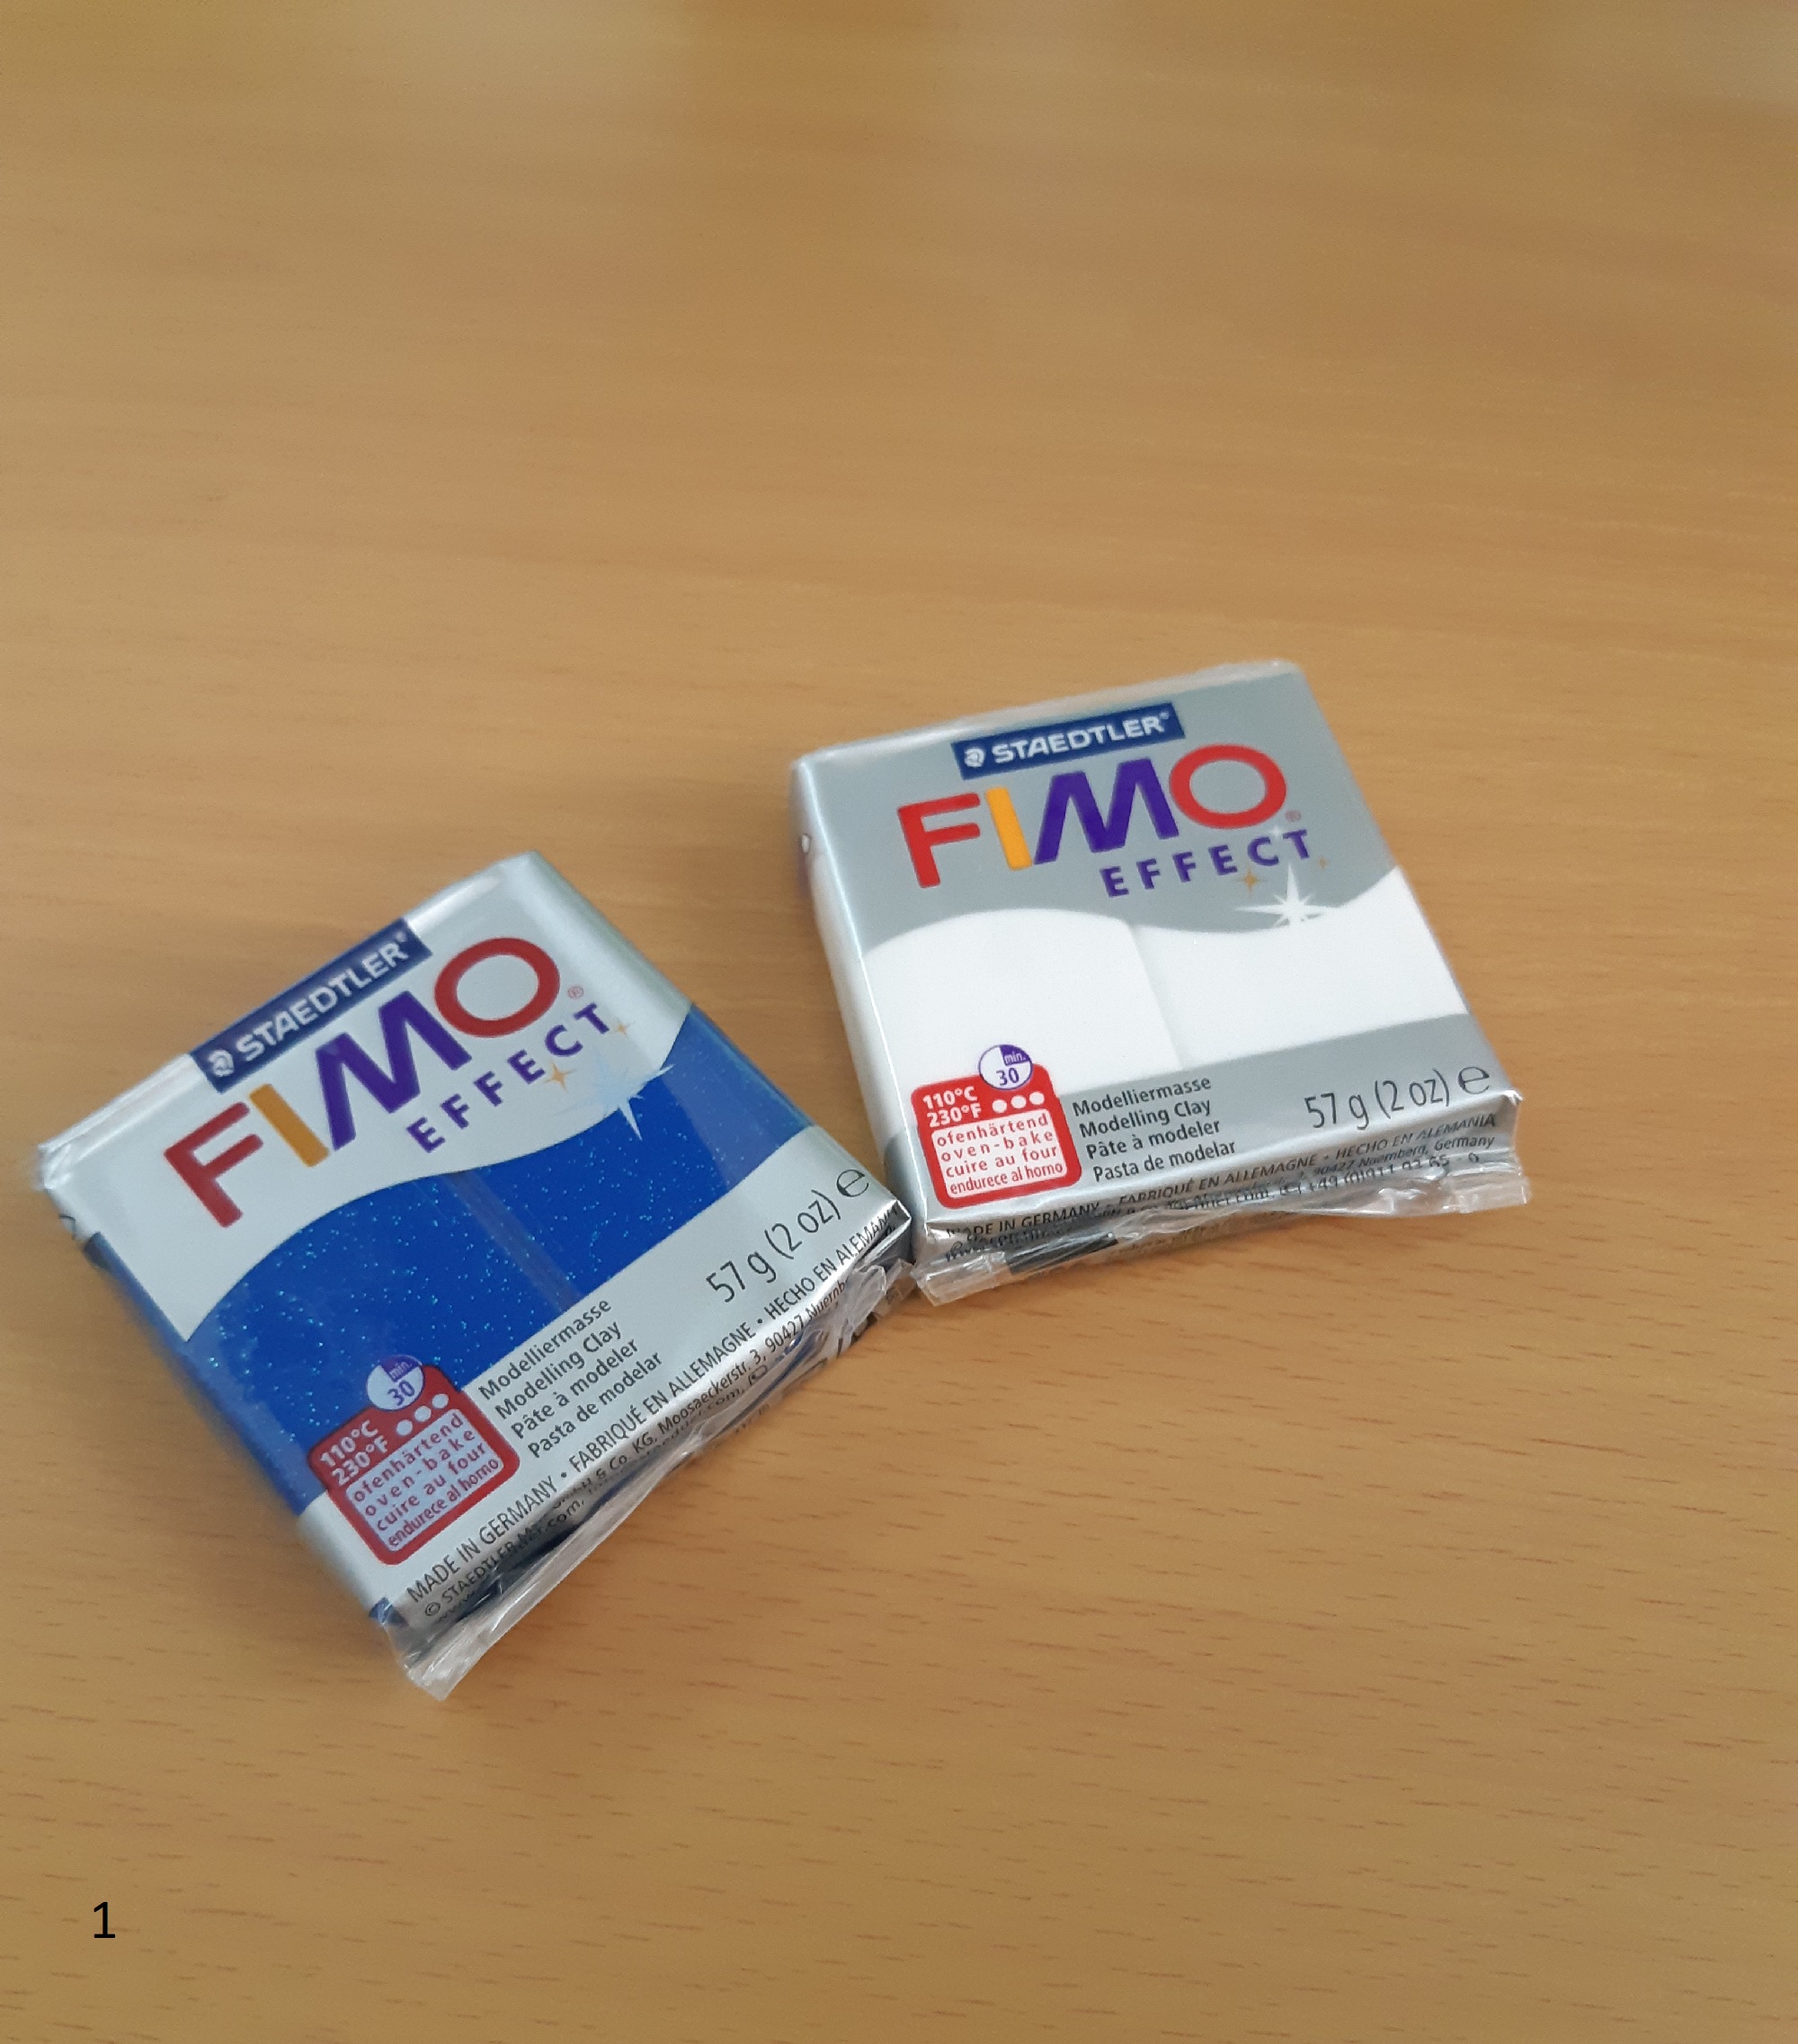 Making a Dreidel from scratch is extremely easy as you’re about to see. All you need is a clean, flat surface to work on, an oven, some clay, and your creativity! Today, we’ll be using FIMO® Effect Modelling Clay in two different colors. We chose this particular kind of clay because of how easy it is to work with, plus we couldn’t resist how bright and glittery it is! It is also pretty durable once it’s baked, so we thought it would be perfect to use for this project.
If you don’t have an oven to bake your Dreidel, there are plenty of air-drying alternatives that you can use instead, including modeling clay from FIMO® called FIMOair® that works just as well. Check out your local craft store to see what they have available and get the one that works best for you.
Step 2: Play with Your Clay!
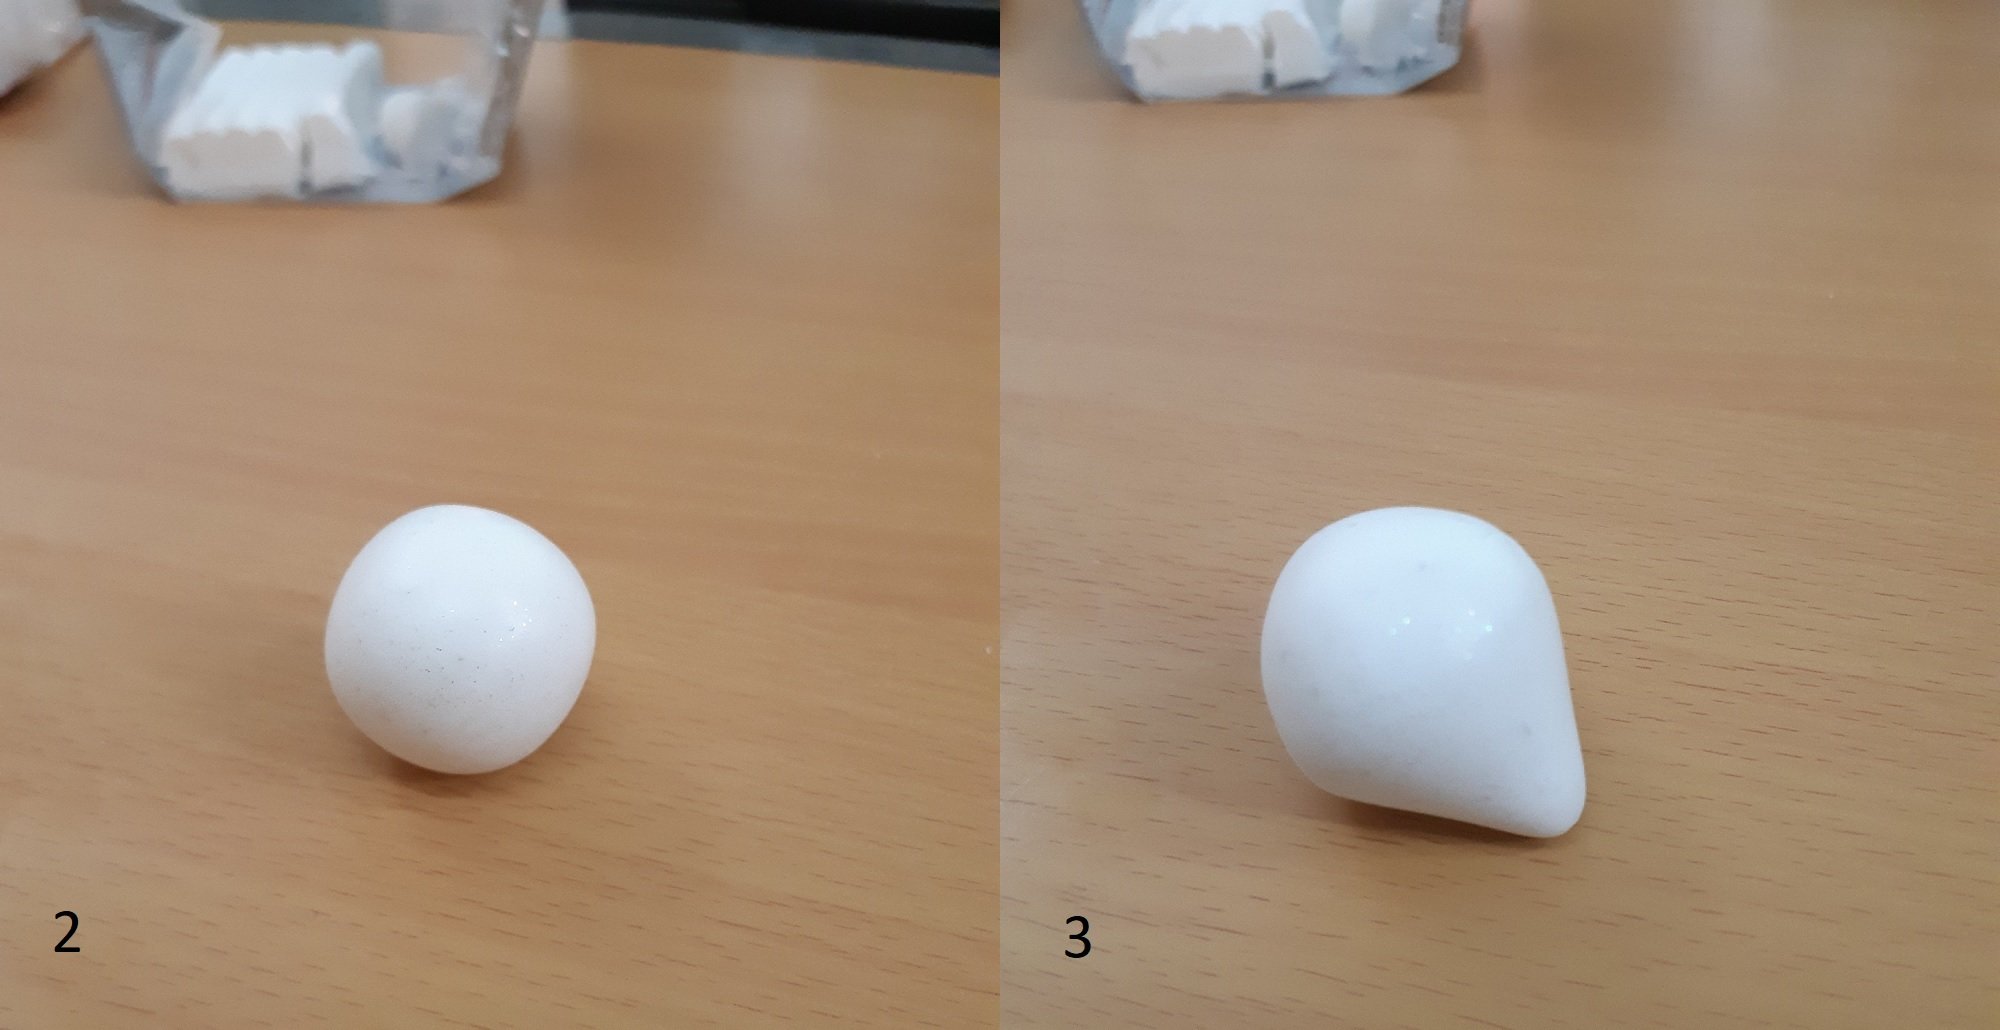 The first thing you want to do with your clay is to play around with it a little. This will warm up the product, making it more malleable and less prone to cracks or lumps. Once you’re satisfied with the way your clay feels, go ahead and roll it into a ball. Try to get it as smooth as you can so there are no noticeable flaws in the clay that might show up later. After you’ve made your ball, lightly roll one side along a flat, even surface or use your fingers to gently pinch a bit of clay into a conical shape. This will become the point of your Dreidel. If possible, try not to make it too pointy since you want your Dreidel to spin. Ideally, it should look somewhat similar to an ice cream cone, as shown in picture 3.
Step 3: Making the Body and Handle!
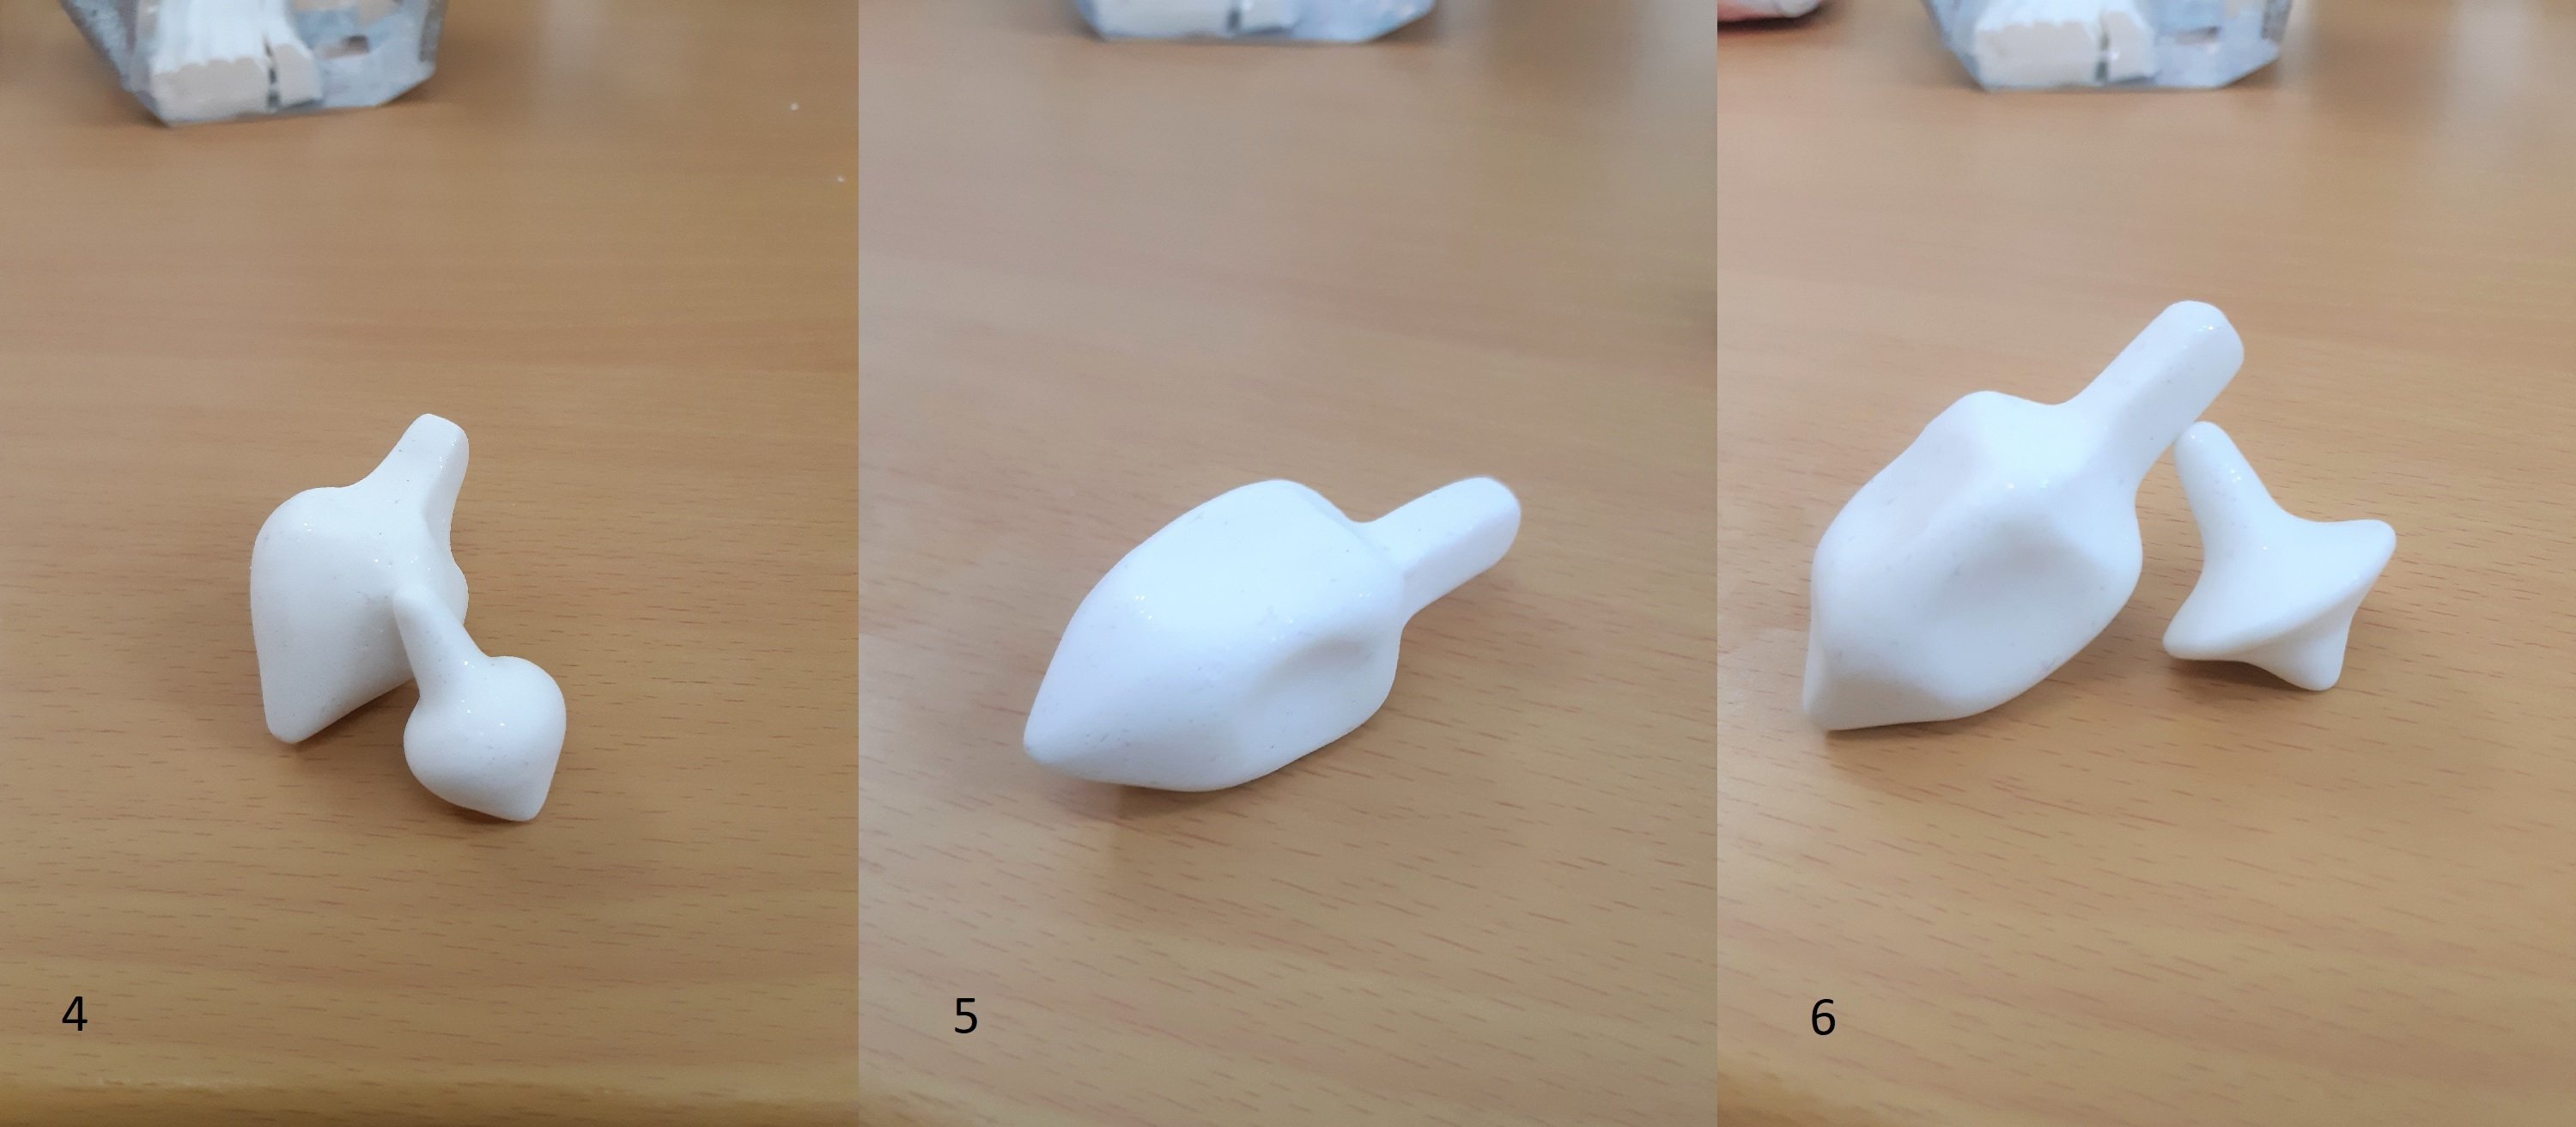 Once the point of the Dreidel is finished, move on to making the handle and the body. There are a few ways to do this, but we found that it was easiest to make your Dreidel out of a single ball of clay, so start by molding the beginning of your stem using the same pinching technique as before. You can also roll it around a bit if you want your handle to less square-shaped. To make the body, gently squeeze two sides of your Dreidel evenly with your fingertips before rotating to do the same to the other two sides. This will give your Dreidel the iconic boxy shape. Alternatively, if you don’t want your Dreidel to have that classic blocky figure, you can gently pinch the clay in between the point and the handle while rotating it to flatten the body of your Dreidel and give it a disc-shape, as we did with our second Dreidel. Once you’re done with that step, your Dreidel is almost ready!
Step 4: Decorate your Dreidel!
 Start by making the Hebrew letters to put around your Dreidel. You can either roll out a sheet of clay and cut out your letters, or make a thin clay rope and use that to sculpt your Nun, Hay, Gimmel, and Shin. Once you’ve made your letters, stick them on! Finish decorating your Dreidel the way you want by adding decorative borders and any other details you want your Dreidel to have! We liked the idea of using the Israeli Flag as inspiration for our Dreidel, so we added lots of wavy blue borders and Stars of David to our first Dreidel.
Step 5: Let It Harden!
 Once you’re satisfied with the way your Dreidel looks, it’s time to let it harden. Depending on what type of clay you chose to use, this could entail letting your Dreidel air-dry for several hours, or bake in the oven until the clay has hardened completely. If you used FIMO® Modelling Clay like us, heat your oven to 110°C (230°F) and bake your Dreidel for up to 30 minutes on a sheet of aluminum foil or on a heat resistant glass plate. Be sure not to exceed to maximum temperature or baking time recommended by the manufacturers and allow to cool completely before you touch it. When your Dreidel is ready, go ahead and give it a spin!
Bonus Dreidel Project: Dreidel Jewelry!
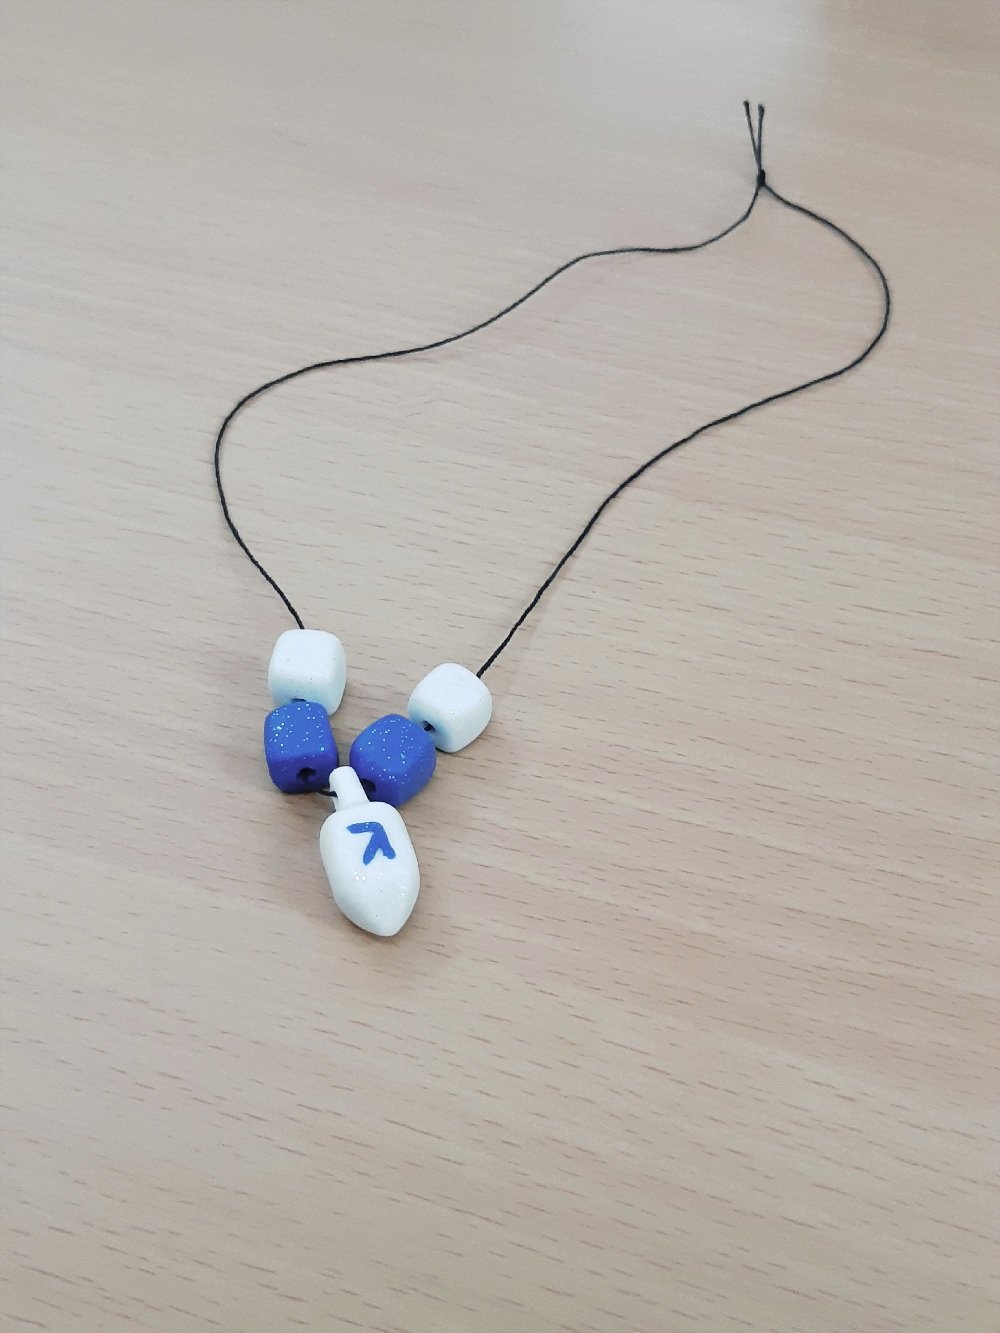 Using the same methods and techniques that you used to make your original Dreidel, make a smaller Dreidel (or larger, if that’s what you prefer) then use a sewing needle or toothpick to carefully create a hole to string your jewelry together. You can also make a few regular beads to compliment your Dreidel charm or pendant! Let them harden, hang them on a cord or chain, and wear your own Dreidel jewelry this Hanukkah!
If you enjoyed this instructional blog and making your own Dreidels, let us know by posting pictures of your Dreidels in the comments section below!
Have a Happy Hanukkah!